How to install rain gutters?
If roof gutters are on your list of home upgrades, the following are my steps to install the sections of gutters, fix your systems and ensuring it does not leak.
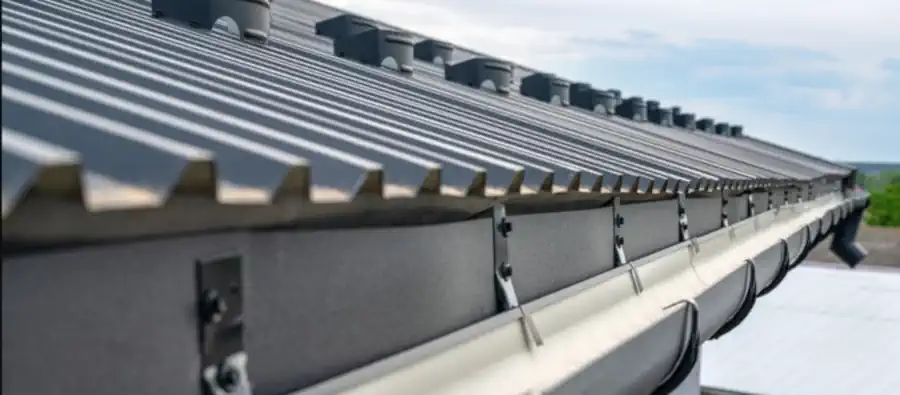
One of the initial and very important steps in organizing the gutters is to integrate the fall better known as the slope that will ensure that during the water flow the water would always drain towards the downspouts. This may include approximately one inch of fall for every odd 20 feet of length. If the facia board is actually level as it should be, then measure down from the edge to where you start and this would be your high point. Then go /20 down the facia and draw a line 1” below from the previously made line. Scribe a line from one mark to the other to help guide the height of the gutter run.
You will be interested to know that the do-it-yourself version of the gutters as depicted in the following video come in 10 ft lengths of gutter that are joined together by this bracket to make these connected units and are secured with this sealant. Half the seam can lie on the ground before you put the pieces into the hanger each at a time. We also observed that the mounting brackets can be snapped in on the ground.
Once the gutter section is resting against the chalk line, you can sink the long screws which are related to each bracket into the fascia board of the house to secure the feet of gutter.
The subsequent piece is then placed in the seaming bracket so that this process is carried out until the chosen gutter area is sealed. This should be done using the same gutter sealant used fore sealing the seams and then crimp the end cap in place.
At the spot that downspouts will be installed, sketch the outline of flange around the area that will join the gutter and the downspout, and then you can complete the cutting by pounding a sharp chisel through it. Trim off the curves as close to the solid black line as possible using sheet metal shears or tin snips.
Lastly, the flange is installed from the inside of the gutter with some more seam sealer for the purpose of sealing the respective joint. From there, assemble downspout segments, as needed, to direct the downspout back up to the wall and down to the ground. Each of these parts has a male and female end to them and fitting it simply involves sliding them into place and then turning a sheet metal screw into the desired area. I am pleased to announce that your project is finished.